← BackTool Making
Purpose: fabricate and maintain essential hand tools with predictable geometry and reliable field durability.
Quick Start
- Choose one tool pattern and define target dimensions.
- Prepare stock, handle material, and fastening method.
- Shape, fit, and balance tool before final edge work.
- Test under real load and document adjustments.
Tool Classes
| Tool Type | Core Geometry | Primary Material | Failure Mode |
|---|
| Chisel | bevel + flat back | hardened steel | edge chipping |
| Axe/hatchet | wedge profile | forged head + wood handle | loose head |
| Punch/drift | tapered point | tough medium-carbon steel | mushrooming |
| Scraper | square burr edge | spring steel | burr loss |
Decision Table
| If this happens | Do this now | Backup action | Verify |
|---|
| Edge dulls too fast | Adjust heat treat/temper | change steel grade | edge lasts test cycle |
| Handle loosens | Re-wedge and seat | new handle fit | no movement under strike |
| Tool chips in use | Increase temper softness | reduce edge angle stress | no fresh chips in retest |
| Tool balance is poor | Reshape handle profile | trim head weight where safe | stable control in repeated swings |
Common Mistakes and Fixes
- Mistake: no dimension template. Fix: master pattern on steel/card.
- Mistake: skipping hardness checks. Fix: file test and sample coupons.
- Mistake: weak handle grain direction. Fix: straight grain alignment.
- Mistake: no proof test before deployment. Fix: controlled load cycle test.
Scenario Drills
Drill 1: Make and Validate a Cold Chisel
- Forge and grind to template.
- Heat treat and temper.
- Run 20 strike test on mild steel.
- Goal: no catastrophic edge failure.
Drill 2: Emergency Handle Replacement
- Simulate broken handle event.
- Fit replacement from raw stock.
- Wedge, trim, and strike test.
- Goal: restore service in under 60 minutes.
Printable Checklist
- [ ] Pattern and dimensions set
- [ ] Material grade confirmed
- [ ] Heat/temper sequence logged
- [ ] Handle grain orientation correct
- [ ] Assembly locked and balanced
- [ ] Load test passed
- [ ] Maintenance interval recorded
Safety note: never field a new striking tool without proof testing and face/eye protection.
QR REASSEMBLY: Scan content QRs in order to reconstruct this page offline.
Scan to open this page:
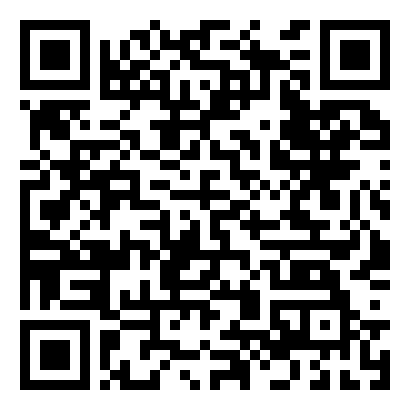
Offline Content QRs
Scan in order to reconstruct full page text offline.